Chapter 2: Basic Pixel Art
- The Basic Isometric Line
- The Isometric Grid
- Creating Your First Isometric Cube
- Other Objects (Shapes)
- Combining Shapes
The Basic Isometric Line
The most important element you need to know about in isometric art is how the basic line works. What truly makes isometric art is the scale and orientation of the linework. Without touching too much on theory behind isometric perspective, here is how to draw a basic isometric straight line:
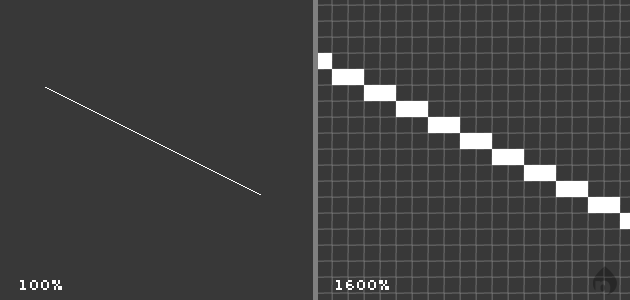
2.1: The isometric line.
When viewed at 100%, the line appears straight and clean. When we zoom in closer, the structure of the line becomes clear.
You’re probably noticing that this pattern is pretty basic. All simple isometric lines such as the above example have a simple rule you should always follow for clean results: you will always be drawing pixels at a 2:1 ratio. For example, in the above line starting from the top, pixels are drawn 2 to the right, then 1 down.
The 2:1 rule uses this basic concept of every single pixel drawn in any direction, moving across two pixels in the perpendicular direction. If you’re looking at this line from a birds’ eye view straight down, it would appear straight up and down, or vertical.
In our isometric drawing, the perspective of this line works out to 26.565°, which is unimportant for our purposes. True isometric projections use lines at 30°, but not only will this make our drawings appear stretched vertically, it’s incredibly difficult to work with. The next example is 30°, and while it almost looks decent, it’s not straight and will look poor when used across an entire drawing.
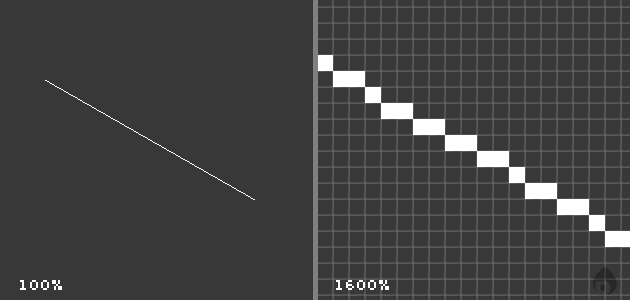
2.2: A true 30° line, but too ugly for our needs.
There are exceptions to our perpendicular line rule, but they are mostly special cases, and you will learn later when they are most useful. Note in figure 1.3 below that all the lines aside from the purely vertical, horizontal, and diagonal lines, all of them are using the 2:1 rule.
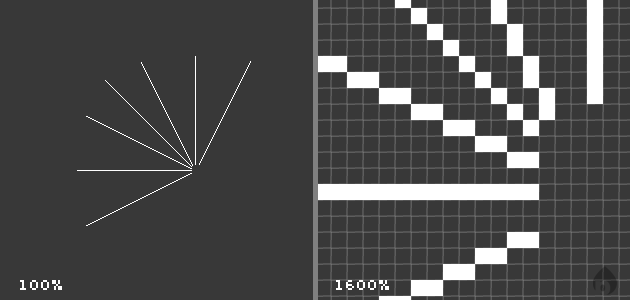
2.3: Different isometric line angles.
The Isometric Grid
An isometric plane can be divided up into a series of squares that have been joined together to form a larger square. The below image shows us how a normal 2D grid is turned into an isometric grid. The normal grid has simply been moved around, as if it were in a 3D space, so that the view has changed to an isometric view of the plane. Note that the lines do not converge, as in a normal perspective drawing. In isometric drawings, there is no “horizon,” so there is no vanishing point, and consequently no “true” 3D perspective.
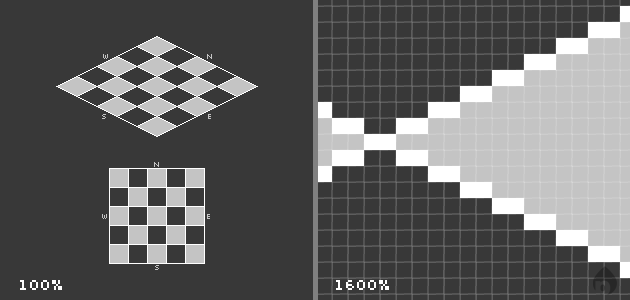
2.4: The top-down, standard grid becomes isometric. Note the 2:1 usage.
Creating Your First Isometric Cube
The first thing to do is create a new layer for the artwork. Working on the background layer limits our ability to move elements around easily and quickly. You can click the New Layer button ( on the Layers panel), .
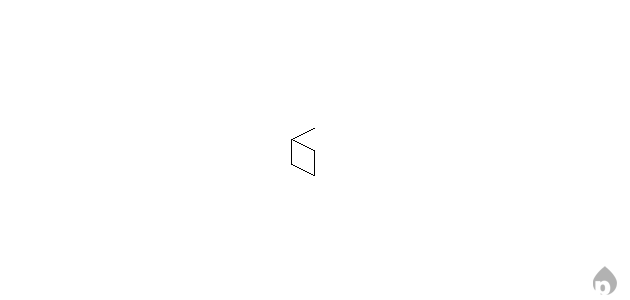
We’ll start with an outline. The simplest way to outline an isometric shape is to think if it in two dimensions, skewed into a three dimensional perspective. Draw one side of the cube using the 2:1 lines discussed earlier.
We’ll start with a plain line the width of our upcoming cube. Keep to the 2:1 pixel ratio.

2.7: The first edge of the cube starts with a line.
Use this line to determine the lengths of the remaining lines. Draw the top line at the height you want your cube. Feel free to copy, then paste, the first line we drew for the top parallel line. Optionally, you can re-duplicate this line and flip it vertically to create the back edge shown above. Pixel art is tedious enough that you should strive to keep your repetitive tasks to a minimum.
2.8: One half of one cube gleamed.
Once you’ve got a full half of the cube drawn, merge any pasted layers together. Make sure you do not merge the cube into the background layer, or you’re going to make more work for yourself shortly. Select the entire canvas with + (+ on Mac) and immediately paste the layer. Go to Edit > Transform > Flip Horizontal. Position the other half so the middle line overlaps, as shown below:
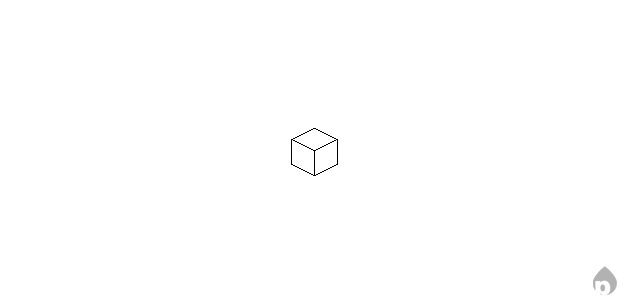
2.9: A Cube.
The remainder of this content is being revised.